Create a Google OAuth 2.0 client for Proliferate SSO (OIDC).
Use a Google Cloud OAuth 2.0 client to sign in to Proliferate with OpenID Connect.
Prerequisites
- A Google Cloud project where you can manage OAuth credentials.
- The Redirect URI from your Proliferate Single sign-on settings.
Create the OAuth client
- In the Google Cloud Console, select your project and open APIs & Services → Credentials (the Google Auth Platform → Clients page). If you haven't configured the OAuth consent screen for this project yet, do that first.
- Click Create credentials → OAuth client ID.
- Set Application type to Web application and give it a name
(e.g.
Proliferate SSO). - Under Authorized redirect URIs, click Add URI and paste the
Redirect URI copied from Proliferate, e.g.
https://app.proliferate.com/auth/sso/oidc/callback. - Click Create. Copy the Client ID and Client secret from the dialog (the secret is shown once).
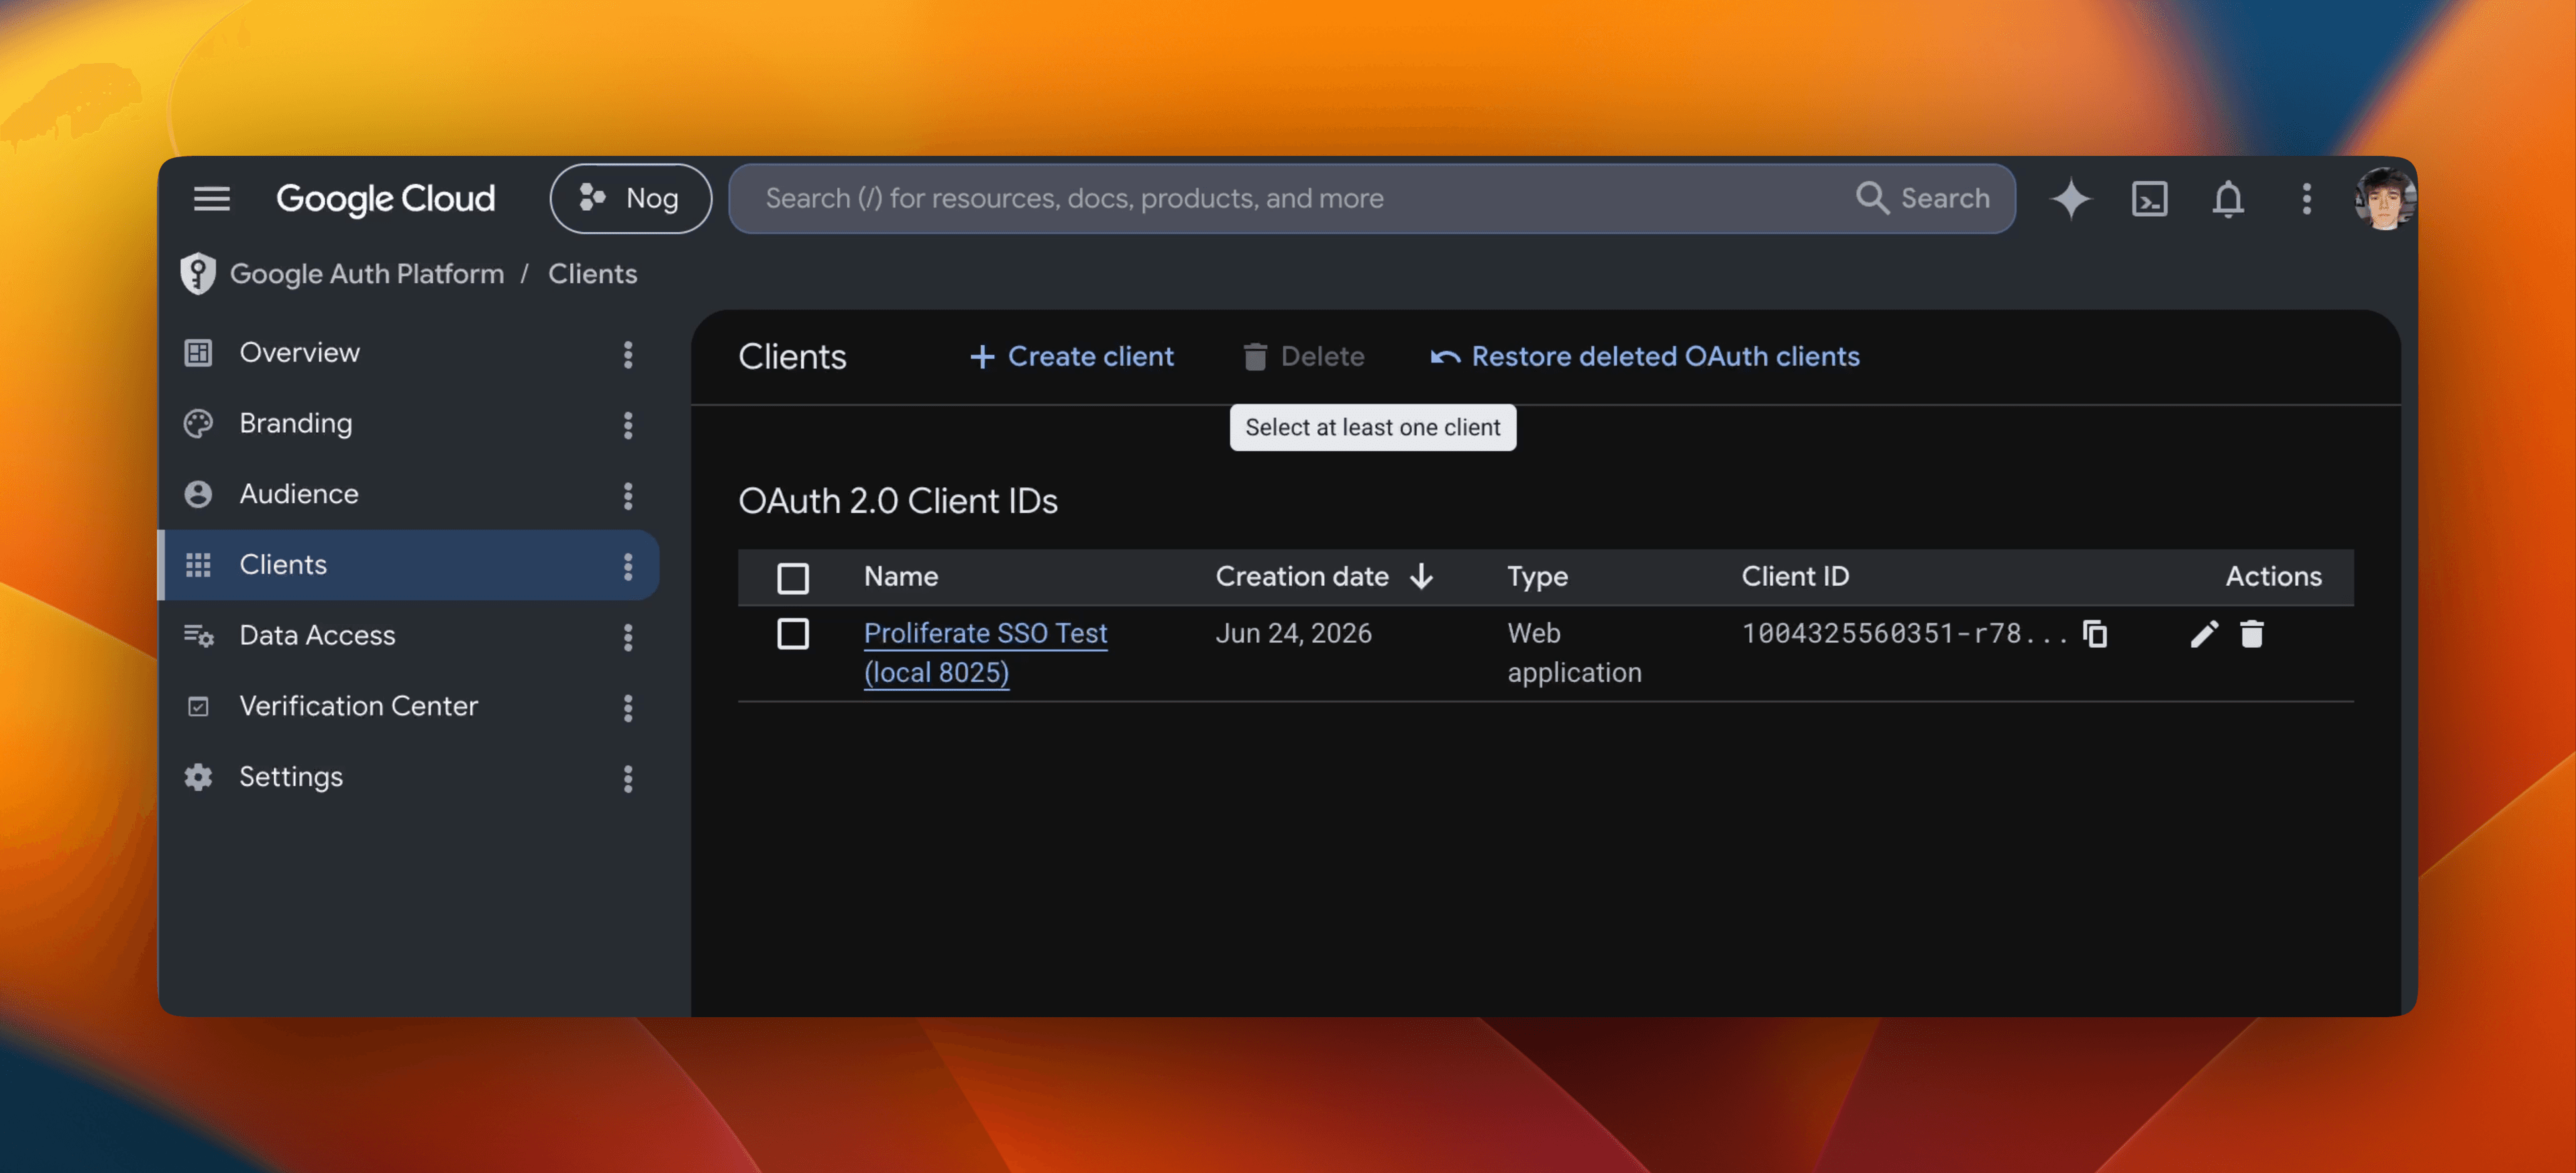
The Web application client in Google Cloud's Clients list.
Values for Proliferate
| Proliferate field | Value |
|---|---|
| OIDC issuer URL | https://accounts.google.com |
| OIDC client ID | Client ID from the dialog |
| OIDC client secret | Client secret from the dialog |
| OIDC scopes | openid email profile |
| Token auth method | Client secret basic |
Info:
If your OAuth consent screen is in Testing mode, only accounts added as
test users can sign in until you publish it. Generic @gmail.com accounts
won't be restricted to a corporate domain; use Allowed domains in
Proliferate to gate access.
Finish in the SSO settings: paste the values above, Save, Test, then Enable.