Auth0
Create an Auth0 Regular Web Application for Proliferate SSO (OIDC).
Use an Auth0 application to sign in to Proliferate with OpenID Connect.
Prerequisites
- An Auth0 tenant where you can create applications.
- The Redirect URI from your Proliferate Single sign-on settings.
Create the application
- In the Auth0 Dashboard, go to Applications → Applications and click Create Application.
- Name it (e.g.
Proliferate SSO), choose Regular Web Application, and click Create. - Open the application's Settings tab. Under Allowed Callback URLs, paste the Redirect URI copied from Proliferate, then Save Changes.
- From Settings, copy the Domain, Client ID, and Client Secret.
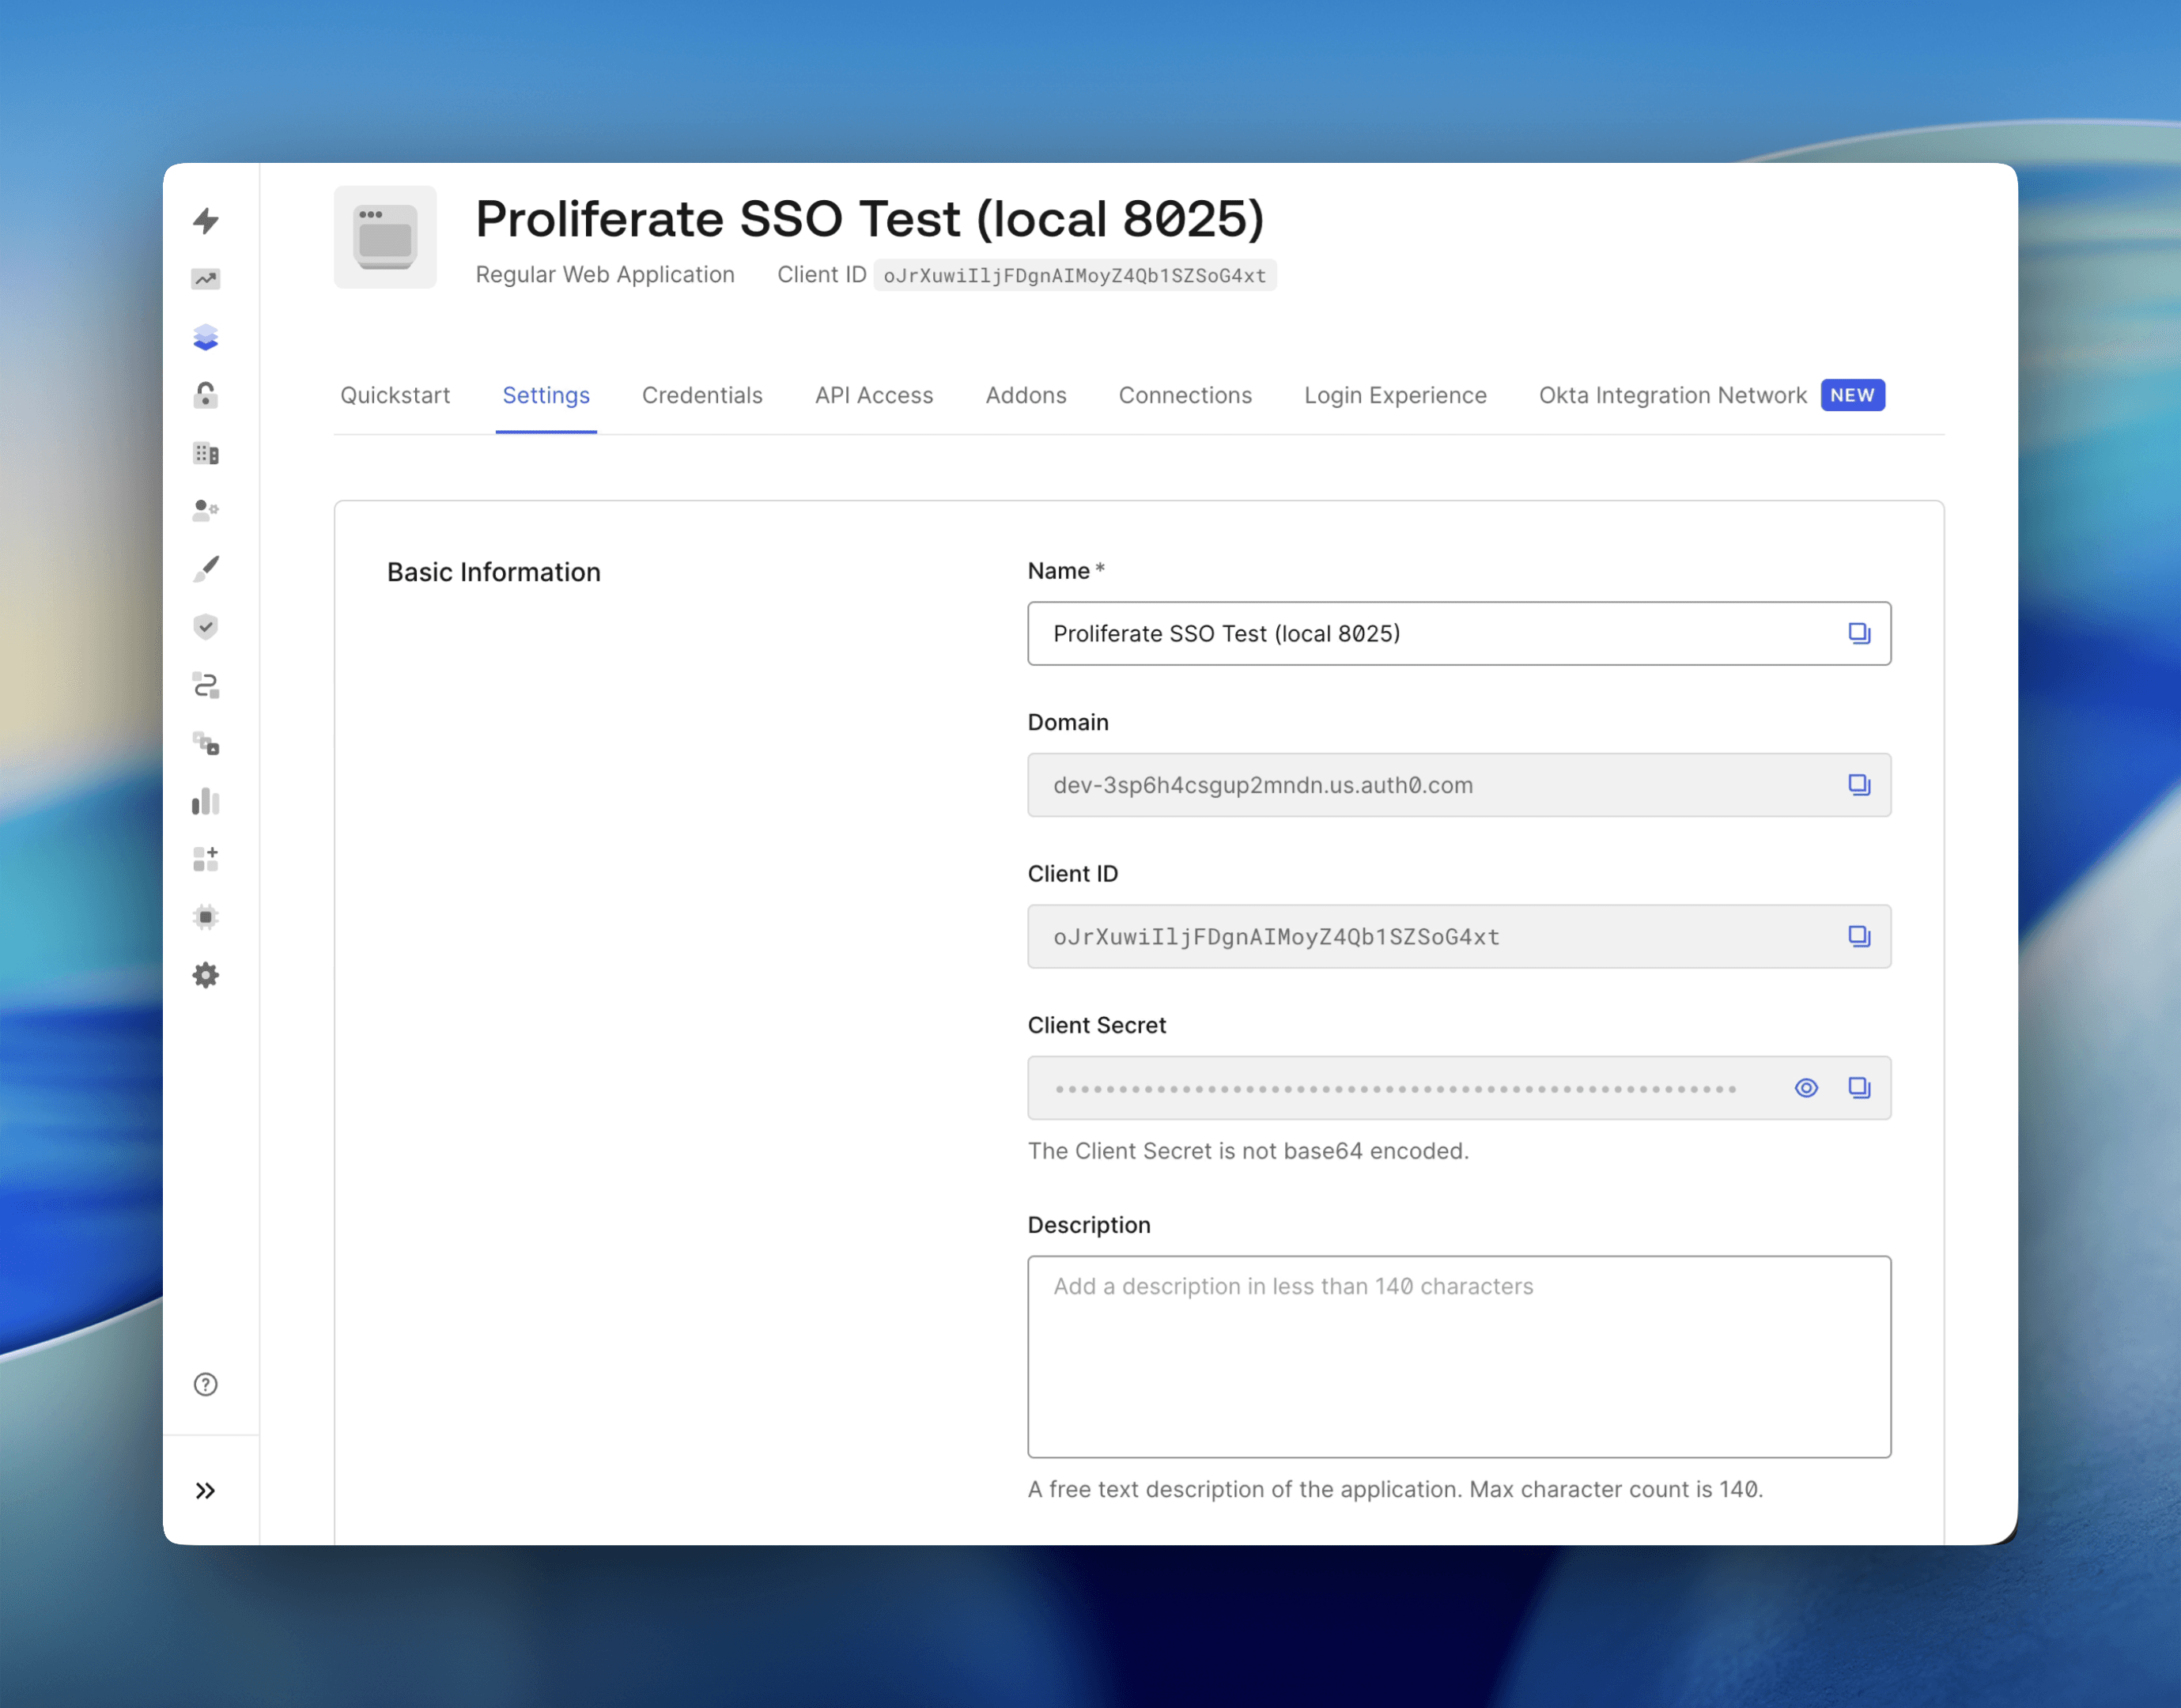
The Auth0 application's Basic Information: Domain, Client ID, and Client Secret.
Values for Proliferate
| Proliferate field | Value |
|---|---|
| OIDC issuer URL | https://<your-tenant>.us.auth0.com/ (include the trailing slash) |
| OIDC client ID | Client ID from Settings |
| OIDC client secret | Client Secret from Settings |
| OIDC scopes | openid email profile |
| Token auth method | Client secret basic |
Warning:
Auth0 issuers include a trailing slash; use the issuer exactly as shown
(https://<tenant>.<region>.auth0.com/). The region segment (us, eu, etc.)
depends on where your tenant was created.
Info:
Auth0 Regular Web Apps default their token-endpoint auth method to
Client secret post. Auth0's token endpoint accepts both methods, so
Client secret basic works; if you hit a token-exchange error, switch the
Token auth method to Client secret post.
Finish in the SSO settings: paste the values above, Save, Test, then Enable.