Auth0
Create an Auth0 Regular Web Application for Proliferate SSO (OIDC).
Use an Auth0 application to sign in to Proliferate with OpenID Connect.
Prerequisites
- An Auth0 tenant where you can create applications.
- The Redirect URI from your Proliferate Single sign-on settings.
Create the application
- In the Auth0 Dashboard, go to Applications → Applications and click Create Application.
- Name it (e.g.
Proliferate SSO), choose Regular Web Application, and click Create. - Open the application's Settings tab. Under Allowed Callback URLs, paste the Redirect URI copied from Proliferate, then Save Changes.
- From Settings, copy the Domain, Client ID, and Client Secret.
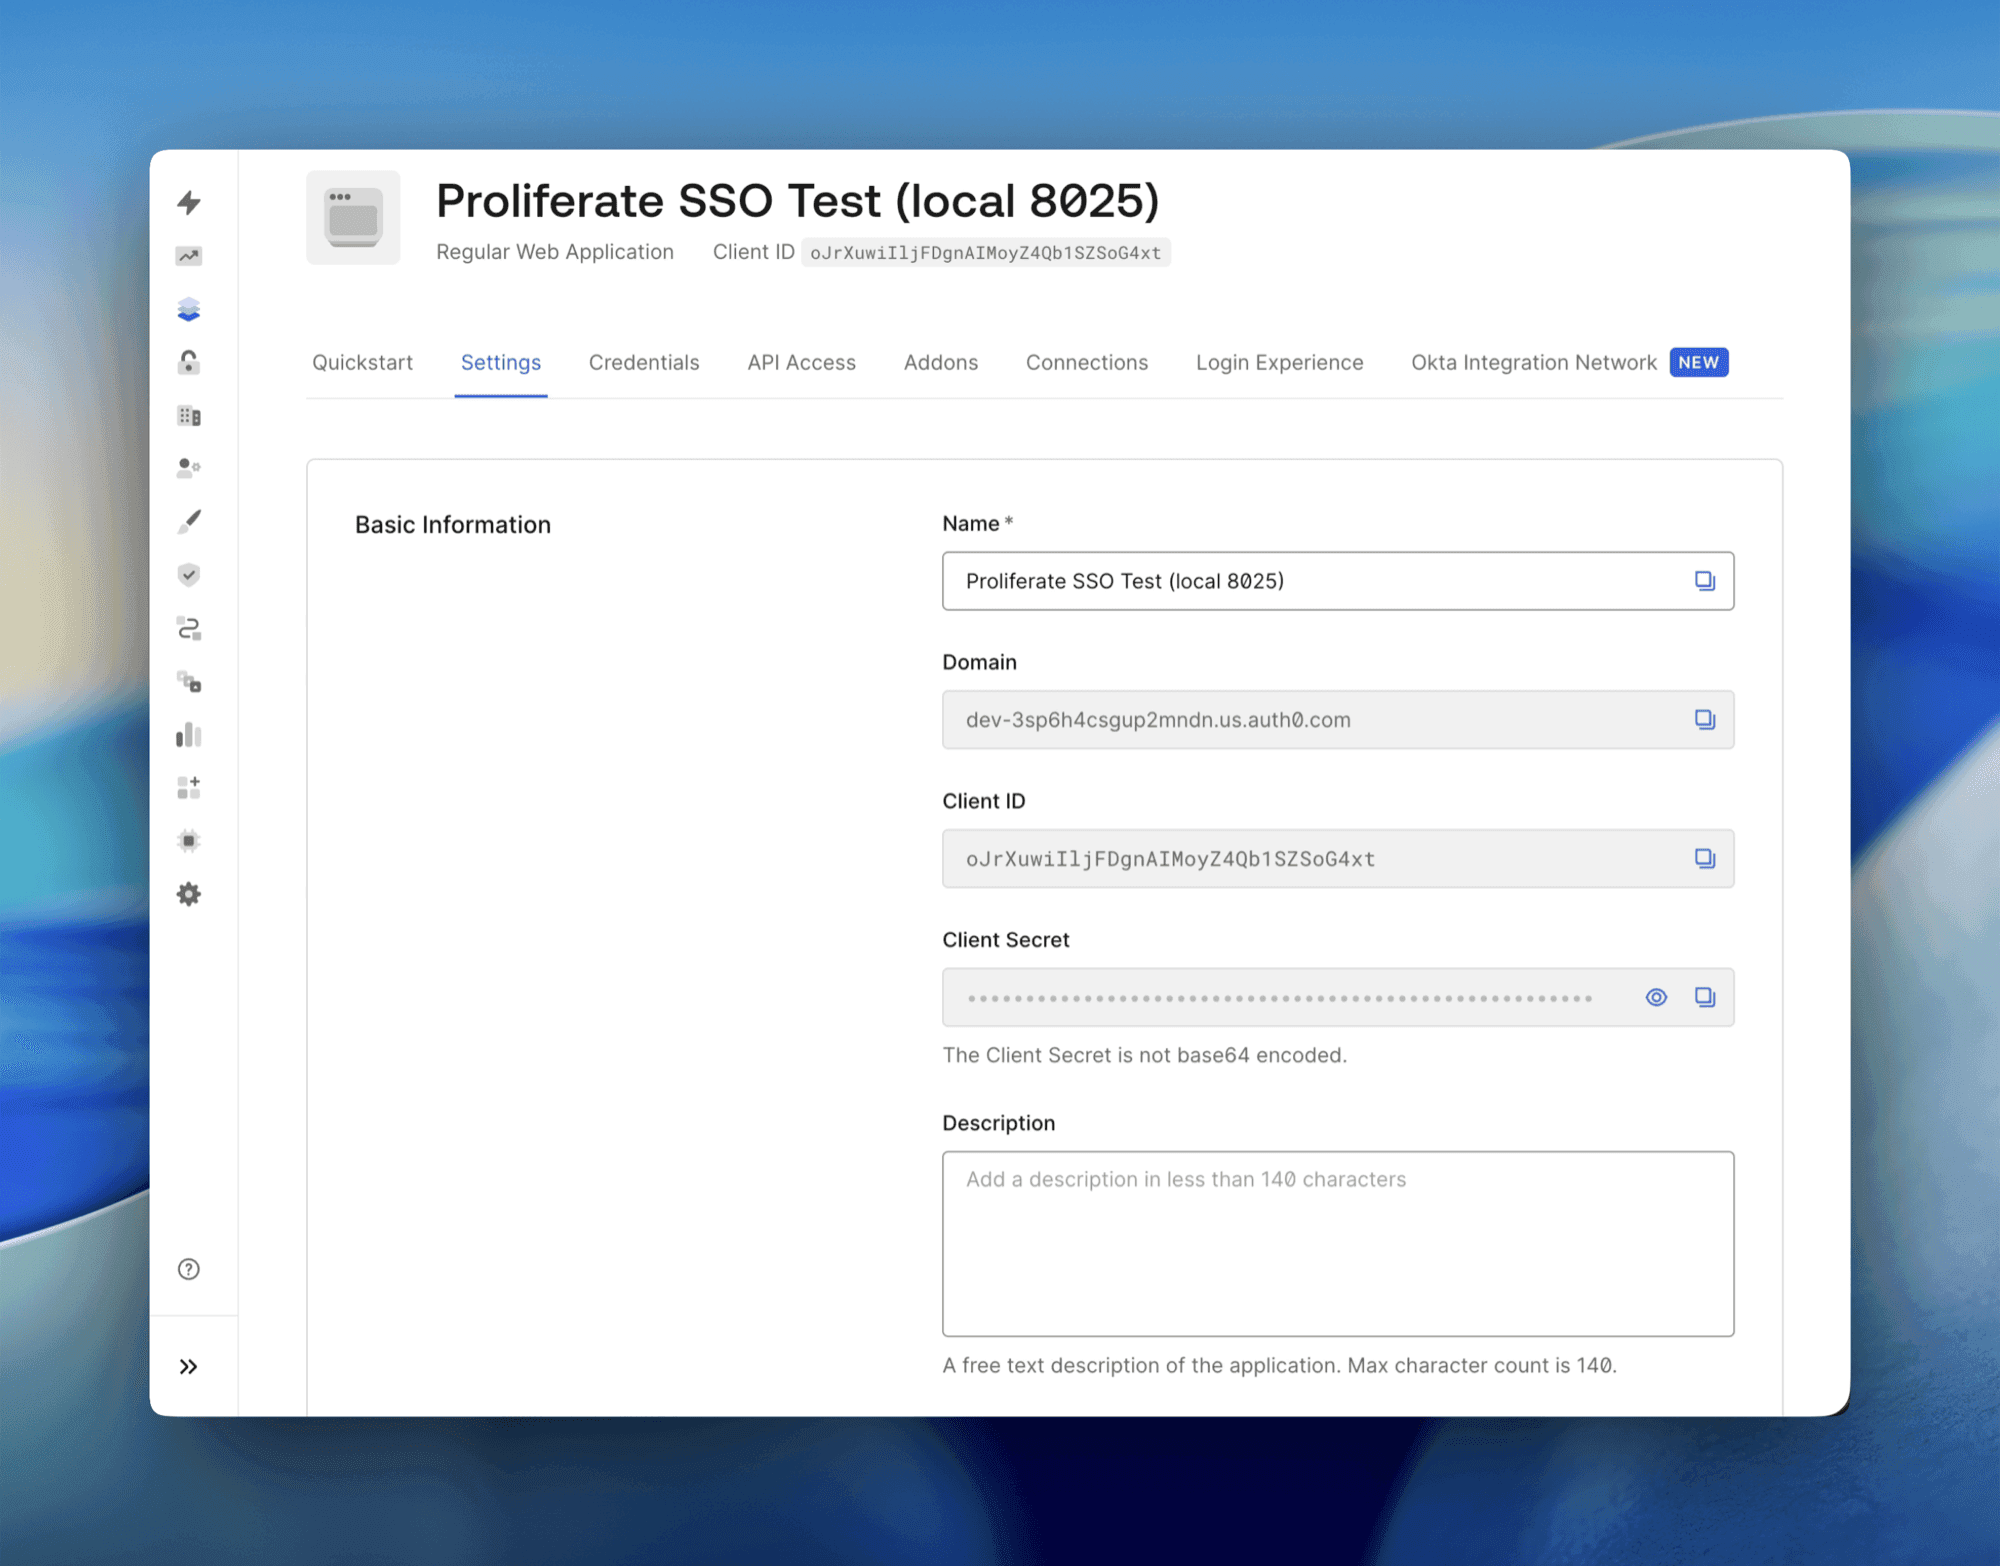
The Auth0 application's Basic Information: Domain, Client ID, and Client Secret.
Values for Proliferate
| Proliferate field | Value |
|---|---|
| OIDC issuer URL | https://<your-tenant>.us.auth0.com/ (include the trailing slash) |
| OIDC client ID | Client ID from Settings |
| OIDC client secret | Client Secret from Settings |
| OIDC scopes | openid email profile |
| Token auth method | Match the method configured on the Auth0 application (see below) |
Auth0 issuers include a trailing slash; use the issuer exactly as shown
(https://<tenant>.<region>.auth0.com/). The region segment (us, eu, etc.)
depends on where your tenant was created.
Auth0 uses the token-endpoint authentication method configured on the
application. Open the application's Credentials tab and set the Proliferate
Token auth method to match what's shown there (Client secret basic or
Client secret post). If you hit a token-exchange error, confirm the two
still agree.
Finish in the SSO settings: paste the values above, Save, Test, then Enable.