Quickstart
Install Proliferate, connect a repo, authenticate an agent, and review its first change.
Get from a fresh install to a reviewed agent change in five steps.
1. Install and sign in
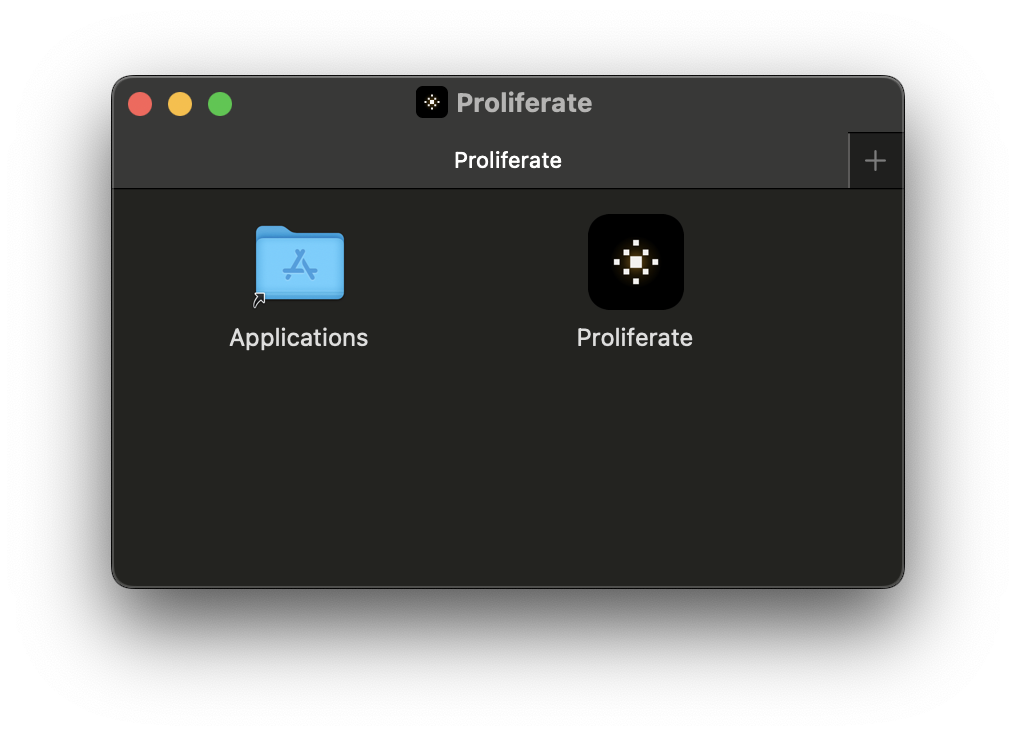
Download the desktop app and sign in. Hosted is the default path, so there is no server to run and nothing to configure first.
2. Connect a repository
Add a repository, then choose a local checkout or a new worktree. A worktree keeps the agent's branch and edits out of your main checkout. Cloud workspaces are coming soon and are not currently selectable.
Full detail lives in Connect a repo.
3. Choose and authenticate an agent
Proliferate runs the coding agents your team already uses. Pick one in the composer and authenticate it.
| Agent | Authentication routes |
|---|---|
| Claude Code | Native login, your own key, or the gateway. |
| Codex | OAuth login, your own key, or the gateway. |
| Cursor | Its own sign-in only, local runs only. |
| OpenCode | Per-provider keys, the gateway, or native. |
| Grok | Native login, your own key, or the gateway. |
How an agent reaches a model depends on the route you choose: its own native login, your own API key, or the Proliferate gateway. See authentication for the current local settings flow.
4. Give it a bounded task and review the result
Ask for something small and specific, like a focused test or a single bug fix. When the run finishes, open the Changes panel to inspect the diff and branch state before anything ships.
Publish pushes real commits to your remote, so review the diff first. See review and publish for the publish and pull request flow.
5. Explore next
Integrations
Give agents your tools, like Linear, Notion, and Sentry.
Parallel work
Run several agents at once without mixing branches or files.
Workflows
Turn repeat tasks into scheduled or on-demand agent runs.
Need agent execution, code, and account state inside your own cloud? Proliferate is self-hostable on AWS or GCP.